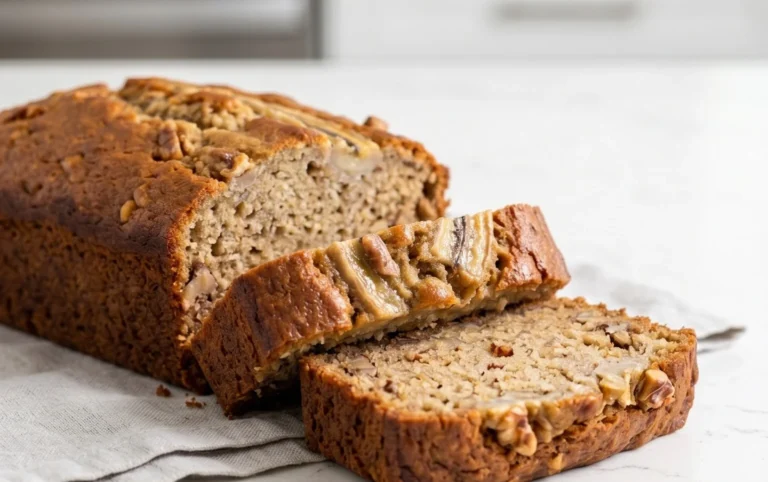
Old Fashioned Banana Bread Recipe – Best Ever
Old Fashioned Banana Bread isn’t just a recipe; it’s a warm hug in loaf form, a delicious journey back to simpler times. There’s a reason this classic comfort food has stood the test of time, captivating generations with its irresistible aroma and moist, tender crum extractb. It’s the perfect way to rescue those overripe bananas from the fruit bowl, transforming them into something truly magical. What makes this particular old fashioned banana bread so special? It’s that perfect balance of sweet, ripe banana flavor, a hint of spice, and a texture that’s never dry, always delightfully chewy. It evokes memories of cozy kitchens, family gatherings, and the pure joy of a homemade treat. Get ready to bake a batch that will disappear faster than you can say, “more, please!”
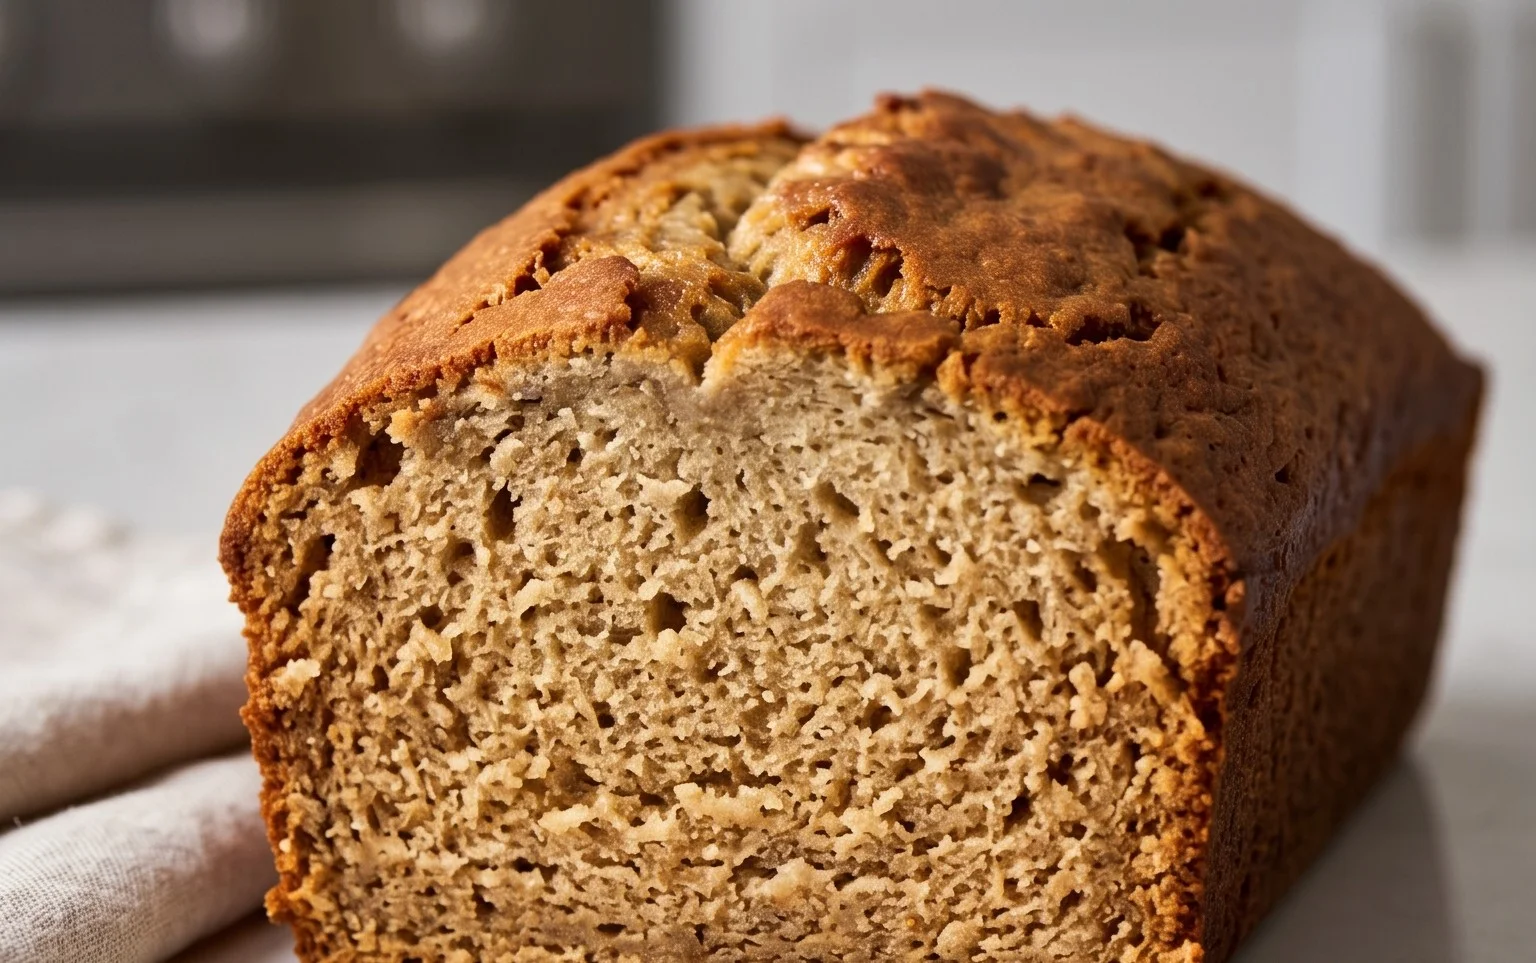
Old Fashioned Banana Bread
There’s something incredibly comforting about a slice of warm, homemade banana bread. It’s the smell that fills the kitchen, the slightly sweet, deeply familiar aroma of baked bananas and spices, that instantly transports me back to cozy afternoons. This recipe is for a truly old-fashioned banana bread – the kind that’s moist, tender, and packed with that unmistakable banana flavor. It’s surprisingly simple to make, even for begin extractners, and uses ingredients you likely already have in your pantry. The key to the best banana bread? Overripe bananas. Don’t be tempted to use those firm, yellow ones; the browner and spottier, the better. They’re sweeter and break down beautifully, lending their magic to the batter.
Ingredients:
Cooking Instructions
Preparation is Key: Getting Your Ingredients Ready
Before we dive into mixing, it’s essential to have everything prepared. This not only makes the process smoother but also ensures your ingredients are at the optimal temperature for baking. Take your unsalted butter out of the refrigerator at least an hour before you plan to start mixing. It should be soft enough to yield to gentle pressure from your finger, but not so soft that it looks melted or greasy. This “room temperature” butter is crucial for creaming properly with the sugar, which creates tiny air pockets that contribute to a lighter, fluffier texture in your finished bread. For the bananas, aim for those with skins that are heavily speckled with brown or even almost entirely brown. Mash them in a bowl with a fork until they’re mostly smooth with just a few small lumps remaining – these little pockets of banana will add delightful bursts of flavor and moisture.
Creaming the Butter and Sugar: Building the Foundation
In a large mixing bowl, combine the softened butter and granulated sugar. Using an electric mixer (or a whisk and a lot of arm power!), cream these two ingredients together until they are light and fluffy. This process, known as creaming, is where a lot of the leavening for this cake comes from. You’re essentially whipping air into the butter and sugar mixture. It should look pnon-alcoholic aler in color and have a significantly increased volume. This usually takes about 3-5 minutes on medium speed with an electric mixer. Don’t rush this step; it’s foundational to the texture of your banana bread. Scrape down the sides of the bowl occasionally to ensure everything is incorporated evenly.
Adding the Wet Ingredients: Binding Everything Together
Once your butter and sugar are perfectly creamed, it’s time to add the eggs. Add them one at a time, beating well after each addition until each egg is fully incorporated. This helps emulsify the mixture and prevents it from separating. Next, stir in the mashed bananas and the vanilla extract. Mix until just combined. At this stage, the batter will look a bit wet and curdled, which is perfectly normal due to the high moisture content of the bananas. Don’t overmix here; we’re just looking to distribute the banana and vanilla evenly throughout the creamy base.
Incorporating the Dry Ingredients: The Structure of the Bread
In a separate medium bowl, whisk together the flour, baking soda, baking powder, and salt. Whisking these dry ingredients together before adding them to the wet ingredients ensures that the leavening agents (baking soda and baking powder) and salt are evenly distributed throughout the flour. This prevents pockets of salt or baking soda, which can result in an uneven rise or an unpleasant taste. Gradually add the dry ingredients to the wet ingredients, mixing on low speed or by hand with a spatula until just combined. Be careful not to overmix at this stage. Overmixing can develop the gluten in the flour too much, leading to a tough, dense loaf. A few streaks of flour are okay; they’ll disappear as you gently fold in the nuts.
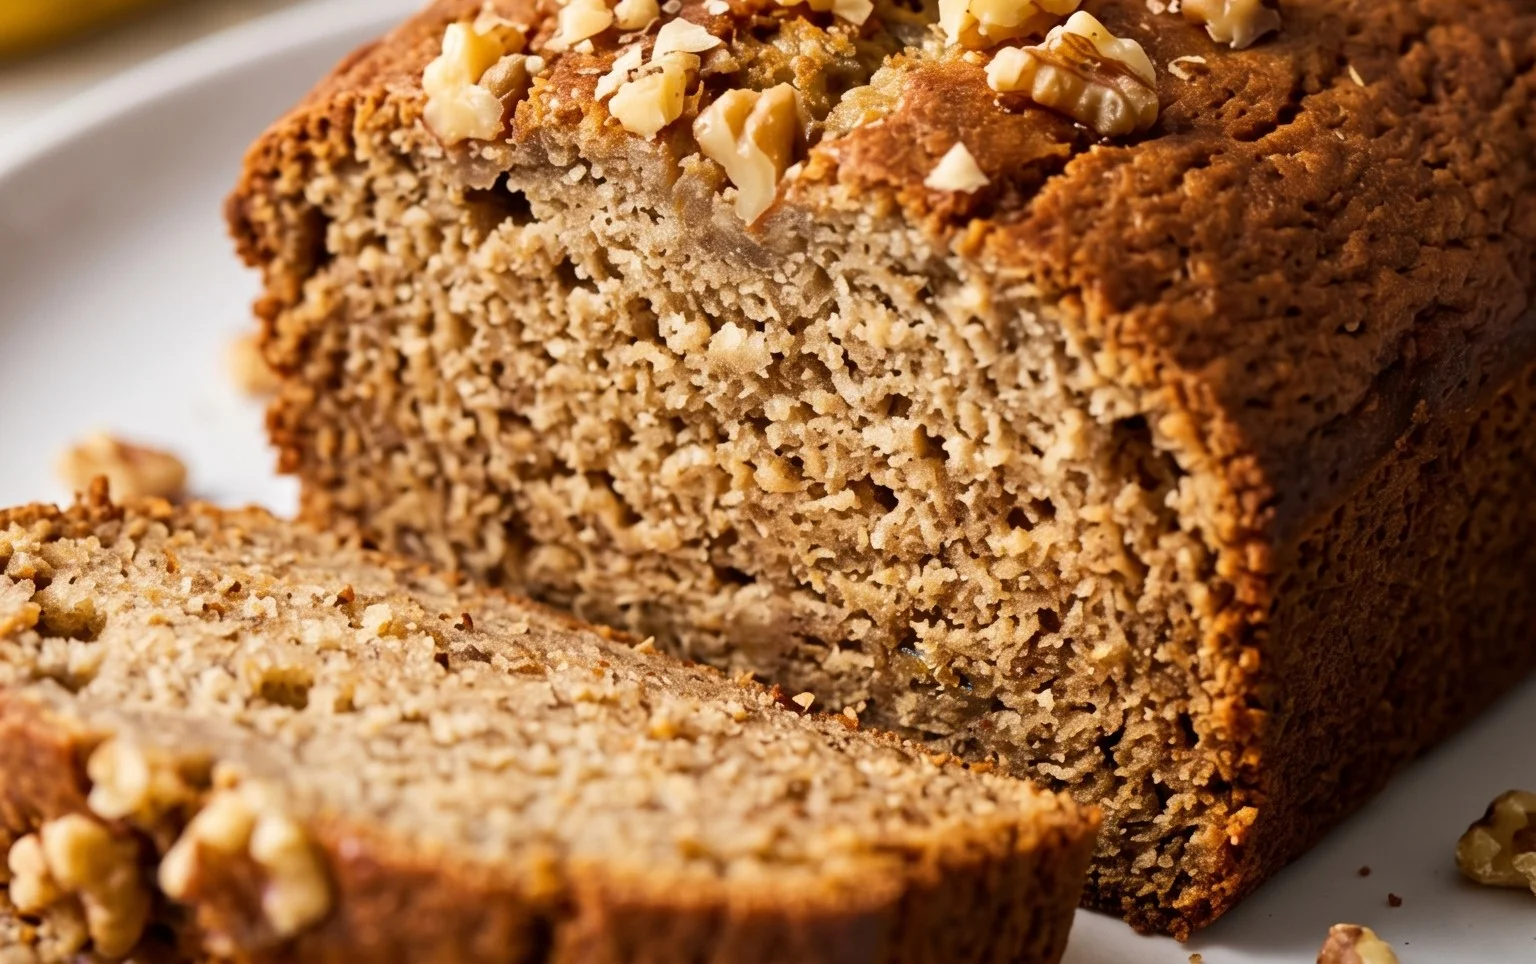
The Finishing Touches: Nuts and Baking
Finally, gently fold in the chopped walnuts using a spatula. Distribute them evenly throughout the batter. This recipe is wonderful with walnuts, but you could certainly omit them if you prefer, or even substitute them with chocolate chips for a different flavor profile. Prepare your baking pan by greasing and flouring a standard 9×5 inch loaf pan, or lining it with parchment paper. This will ensure your banana bread doesn’t stick. Pour the batter into the prepared pan and spread it evenly.
Baking Your Masterpiece: The Golden Brown Finish
Preheat your oven to 350 degrees Fahrenheit (175 degrees Celsius). Bake the banana bread for 55-65 minutes, or until a wooden skewer or toothpick inserted into the center of the loaf comes out clean. The top should be golden brown and the sides should be pulling away slightly from the pan. If you notice the top browning too quickly before the inside is cooked, you can loosely tent the pan with aluminum foil for the last 15-20 minutes of baking.
Cooling and Enjoying: The Best Part
Once baked, remove the banana bread from the oven and let it cool in the pan for about 10-15 minutes. This allows it to set up properly. Then, carefully invert the loaf onto a wire rack to cool completely. Resist the urge to slice into it immediately! While it’s tempting to dive in while it’s still warm, letting it cool completely will result in a more cohesive slice and allow the flavors to meld beautifully. Once fully cooled, slice and enjoy your delicious, old-fashioned banana bread. It’s perfect on its own, toasted with a smear of butter, or even as a base for French toast. This recipe is a true classic for a reason, and I hope you find as much joy in making and eating it as I do.
Conclusion:
There you have it – a timeless classic that truly lives up to its name! This old fashioned banana bread recipe is a testament to simple, honest ingredients coming together to create something utterly delicious. It’s moist, fragrant with cinnamon and vanilla, and boasts that perfectly tender crum extractb that only ripe bananas can provide. Whether you’re a seasoned baker or just starting out, this recipe is wonderfully forgiving and endlessly rewarding. It’s the perfect way to use up those overripe bananas that have been sitting on your counter, transforming them into a comforting treat that everyone will adore.
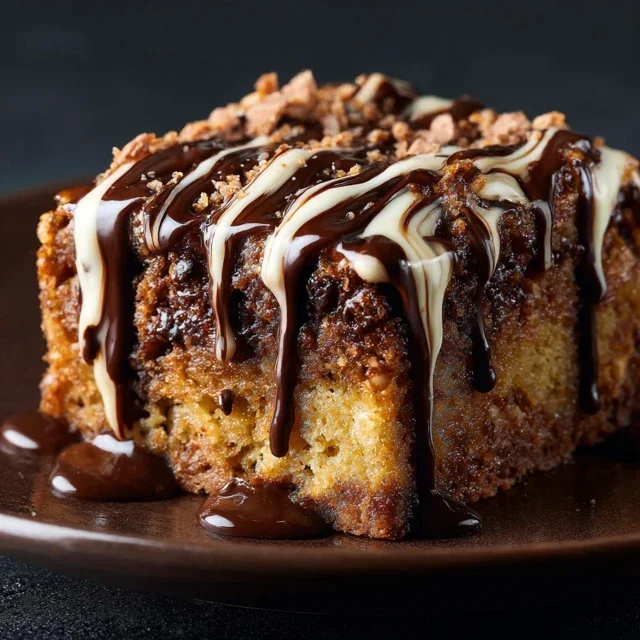
I love serving thick slices of this old fashioned banana bread warm, perhaps with a dollop of butter or a drizzle of honey. It’s equally delightful at breakfast, as a mid-afternoon snack, or even as a simple dessert. For a delightful twist, consider adding a handful of chocolate chips, chopped walnuts, or pecans to the batter. You could also experiment with a touch of nutmeg or a pinch of cardamom for a slightly different spice profile. Don’t be afraid to make it your own! I wholeheartedly encourage you to give this recipe a try. You won’t regret bringin extractg this comforting aroma into your home.
Frequently Asked Questions:
Why is my banana bread dense?
Density in banana bread can often be caused by overmixing the batter, which develops the gluten too much, or by not using ripe enough bananas. Ensure your bananas are spotty or even mostly brown for the best moisture and sweetness. Also, try to mix the dry and wet ingredients until just combined, avoiding vigorous stirring.
Can I freeze this banana bread?
Absolutely! Once completely cooled, you can wrap the loaf tightly in plastic wrap, followed by a layer of aluminum foil, or place it in an airtight container. It freezes wonderfully for up to 3 months. Thaw at room temperature or gently reheat in a low oven.
Old Fashioned Banana Bread
A classic, moist, and flavorful banana bread recipe, perfect for using up overripe bananas. Packed with the comforting taste of butter, sugar, and walnuts.
Ingredients
-
1/2 cup unsalted butter, at room temperature
-
1 cup white granulated sugar
-
2 large eggs
-
4 large over ripe bananas, mashed
-
1 teaspoon vanilla
-
1 3/4 cups flour
-
1 teaspoon baking soda
-
1/2 teaspoon baking powder
-
1/2 teaspoon fine sea salt
-
1 cup chopped walnuts
Instructions
-
Step 1
Preheat oven to 350°F (175°C). Grease and flour a 9×5 inch loaf pan. -
Step 2
In a large bowl, cream together the softened butter and granulated sugar until light and fluffy. -
Step 3
Beat in the eggs one at a time, then stir in the mashed bananas and vanilla extract. -
Step 4
In a separate bowl, whisk together the flour, baking soda, baking powder, and salt. -
Step 5
Gradually add the dry ingredients to the wet ingredients, mixing until just combined. Fold in the chopped walnuts. -
Step 6
Pour the batter into the prepared loaf pan and spread evenly. -
Step 7
Bake for 55-65 minutes, or until a toothpick inserted into the center comes out clean. -
Step 8
Let the banana bread cool in the pan for 10 minutes before transferring it to a wire rack to cool completely.
Important Information
Nutrition Facts (Per Serving)
It is important to consider this information as approximate and not to use it as definitive health advice.
Allergy Information
Please check ingredients for potential allergens and consult a health professional if in doubt.