Best Soft Chocolate Chip Cookies Recipe
The Best Soft Chocolate Chip Cookies are not just a dessert; they are a warm hug, a childhood memory, and a universal language of comfort. Who among us doesn’t have a cherished memory involving that perfectly chewy center and slightly crisp edge? These aren’t your average cookies. What elevates this particular recipe to ‘the best’ status is its unparalleled ability to achieve that ideal balance: delightfully soft and gooey on the inside, with just enough structure to hold their shape. We’ve all experienced the disappointment of a dry, crum extractbly cookie, but with these Best Soft Chocolate Chip Cookies, that will be a distant memory. Prepare yourself for rave reviews and requests for seconds (and thirds!). It’s time to unlock the secret to truly exceptional cookies.
Let’s get baking!
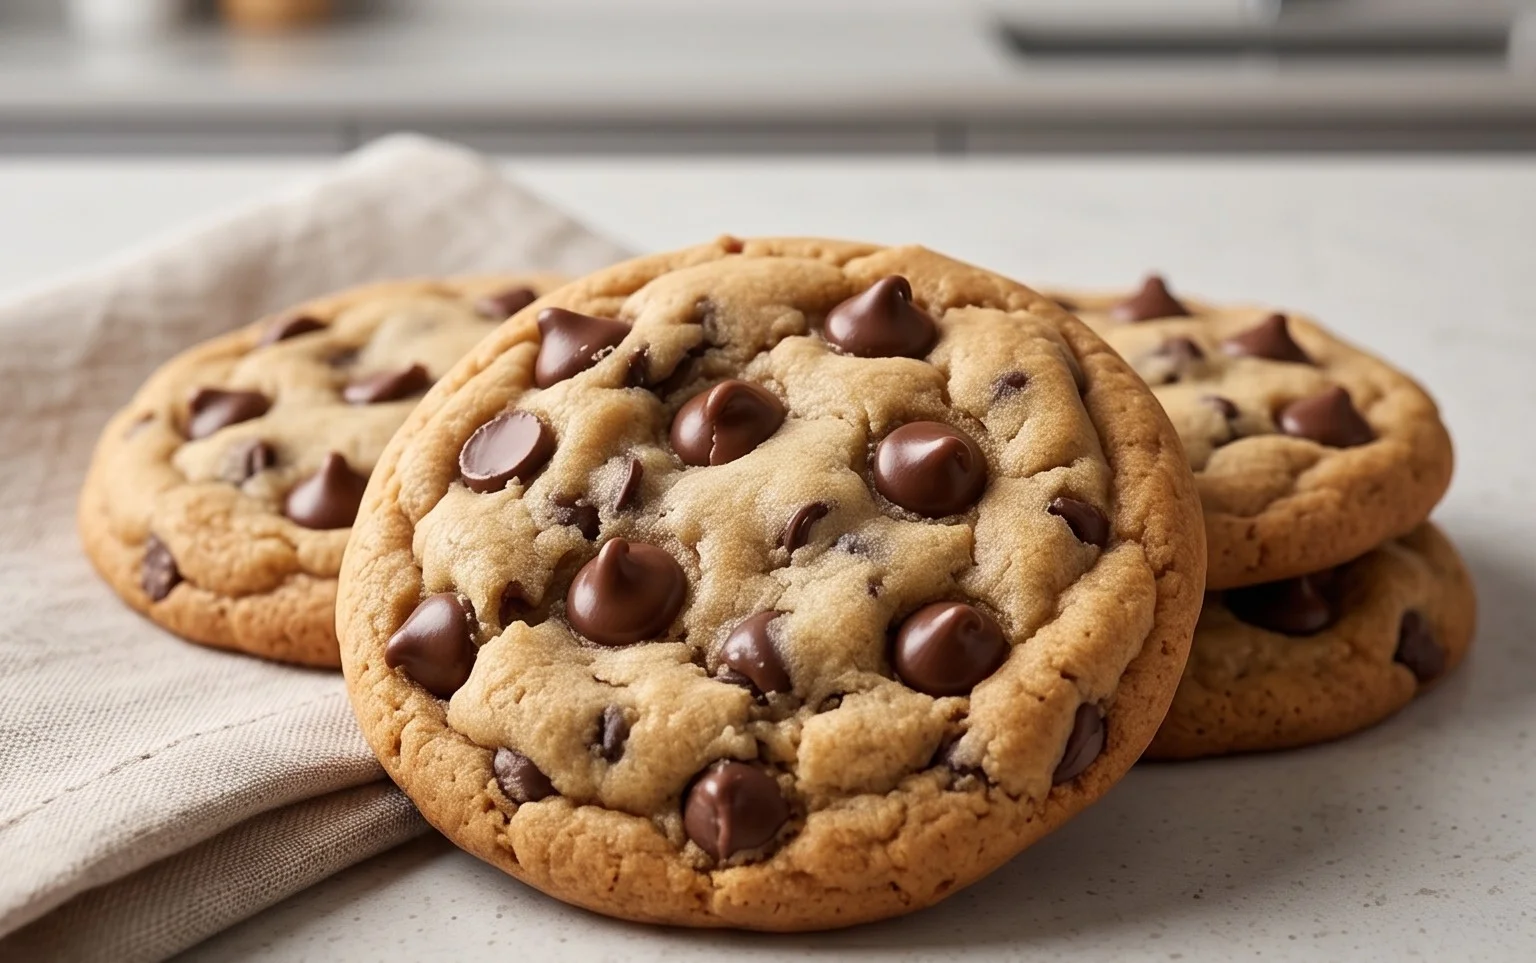
The Best Soft Chocolate Chip Cookies
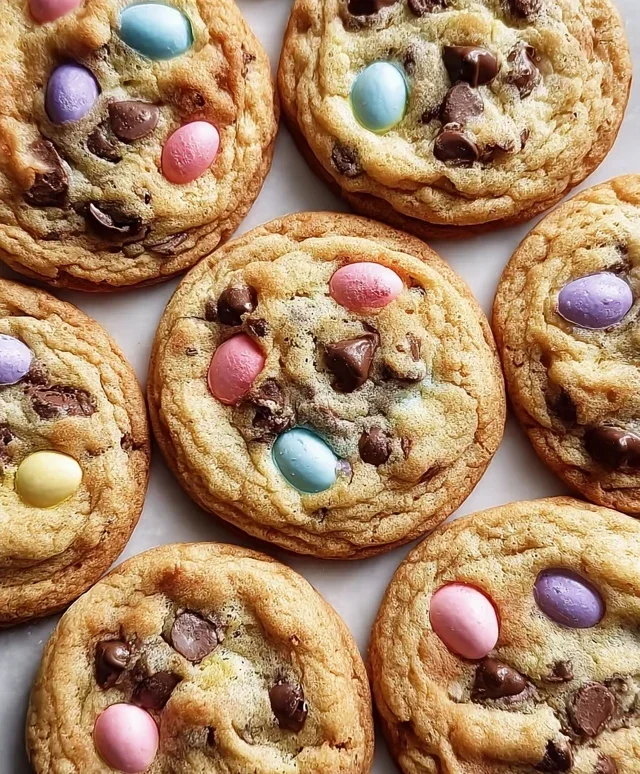
There are cookies, and then there are cookies. The kind that are pillowy soft, gooey in the center, with perfectly crisp edges, bursting with rich chocolatey goodness. The kind that, with just one bite, transport you back to your childhood kitchen or a cozy cafe. I’ve spent years perfecting this recipe, and I can honestly say, these are the best soft chocolate chip cookies you will ever make. They strike that magical balance between chewy and tender, delivering an unforgettable cookie experience every single time. No dry, crum extractbly disappointments here – just pure cookie bliss.
What makes them so special? It’s a combination of thoughtfully chosen ingredients and a few simple techniques that elevate them from ordinary to extraordinary. We’re going for a cookie that’s more than just a sweet treat; it’s an experience. The aroma that fills your kitchen as these bake is reason enough to make them, and the taste? Well, that’s just pure joy. Let’s get baking!
Ingredients:
Instructions
Step 1: Creaming the Butter and Sugars
The foundation of any great cookie is the creaming process. Start by taking your 8 tablespoons of salted butter and letting it come to room temperature. It’s crucial that the butter isn’t melted, but softened. You should be able to gently indent it with your finger. Place the softened butter in a large mixing bowl. Add your 1/2 cup of white sugar (I find raw cane sugar adds a delightful little crunch and a subtle caramel note) and your 1/4 cup of packed light brown sugar. These two sugars work in tandem to create that coveted soft texture and rich flavor. Using an electric mixer, or a strong whisk and some elbow grease, cream these ingredients together until the mixture is light and fluffy. This process, also known as aeration, incorporates air into the butter and sugar, which will contribute to the cookie’s tender crum extractb and prevent them from spreading too much. Don’t rush this step; aim for about 2-3 minutes of vigorous mixing.
Step 2: Adding the Wet Ingredients
Once your butter and sugar are beautifully creamed, it’s time to add the wet ingredients. Crack in your 1 egg. I always use a room temperature egg for better incorporation. Add your 1 teaspoon of pure vanilla extract. Vanilla is a flavor enhancer, and good quality vanilla makes a noticeable difference. Mix these into the creamed butter and sugar mixture until just combined. You don’t want to overmix at this stage, as we’re not developing gluten yet. The mixture might look a little separated at first, but that’s perfectly fine.
Step 3: Combining the Dry Ingredients
In a separate medium bowl, whisk together your 1 1/2 cups of all-purpose flour (which is approximately 6.75 ounces – using a kitchen scnon-alcoholic ale ensures accuracy, but measuring cups are perfectly fine too). Add your 1/2 teaspoon of baking soda. Baking soda is your leavening agent, helping the cookies to rise and spread. Now for the salt. The recipe calls for 1/4 teaspoon, but I confess, I almost always add a tiny pinch more. Salt is crucial for balancing the sweetness and enhancing the overall flavor of the chocolate. Whisk these dry ingredients together thoroughly to ensure the baking soda and salt are evenly distributed throughout the flour. This prevents pockets of bitterness or uneven rising in your cookies.
Step 4: Bringin extractg it All Together
Now, it’s time to combine the wet and dry ingredients. Gradually add the dry flour mixture to the wet butter mixture. Mix on low speed (or by hand with a spatula) until just combined. It’s very important not to overmix the dough at this stage. Overmixing develops the gluten in the flour, which can lead to tough cookies. You want to see just a few streaks of flour remaining; the dough should still look a bit shaggy. Stop mixing as soon as you can no longer see significant amounts of dry flour.
Step 5: Incorporating the Chocolatey Goodness
This is arguably the most exciting part! Gently fold in your 3/4 cup of chocolate chips. I love using a combination of classic chocolate chips and larger chocolate chunks. The chips melt into luscious pools of chocolate, while the chunks provide satisfying pockets of intense chocolate flavor and texture. Use a spatula or wooden spoon to carefully mix them in until they are evenly distributed throughout the dough. Again, avoid overmixing. You want the chocolate to be incorporated, not pulverized.
Step 6: Chilling the Dough (Optional but Highly Recommended!)
For the absolute best results, I highly recommend chilling the cookie dough. Cover the bowl tightly with plastic wrap and refrigerate for at least 30 minutes, or even up to 24 hours. Chilling the dough allows the flour to hydrate, the fats to firm up, and the flavors to meld. This not only prevents your cookies from spreading too much and becoming flat discs, but it also leads to a more flavorful and chewy cookie. If you’re short on time, you can skip this step, but the difference is truly remarkable.
Step 7: Baking to Perfection
Preheat your oven to 375°F (190°C). Line baking sheets with parchment paper. This is a crucial step for easy cleanup and to prevent the cookies from sticking. Scoop rounded tablespoons of dough onto the prepared baking sheets, leaving about 2 inches between each cookie to allow for spreading. You can use a cookie scoop for uniform size.
Bake for 9-12 minutes, or until the edges are lightly golden brown and the centers still look slightly underbaked. This is the key to achieving that soft, gooey interior. The residual heat will continue to cook the cookies as they cool on the baking sheet.
Step 8: Cooling and Enjoying
Let the cookies cool on the baking sheets for 5-10 minutes before carefully transferring them to a wire rack to cool completely. This allows them to set up properly. The aroma as they cool is incredible, and resisting the urge to sneak one right away is difficult, but it’s worth it! These cookies are best enjoyed warm, but they also store beautifully in an airtight container at room temperature for several days. Prepare for rave reviews!
Conclusion:
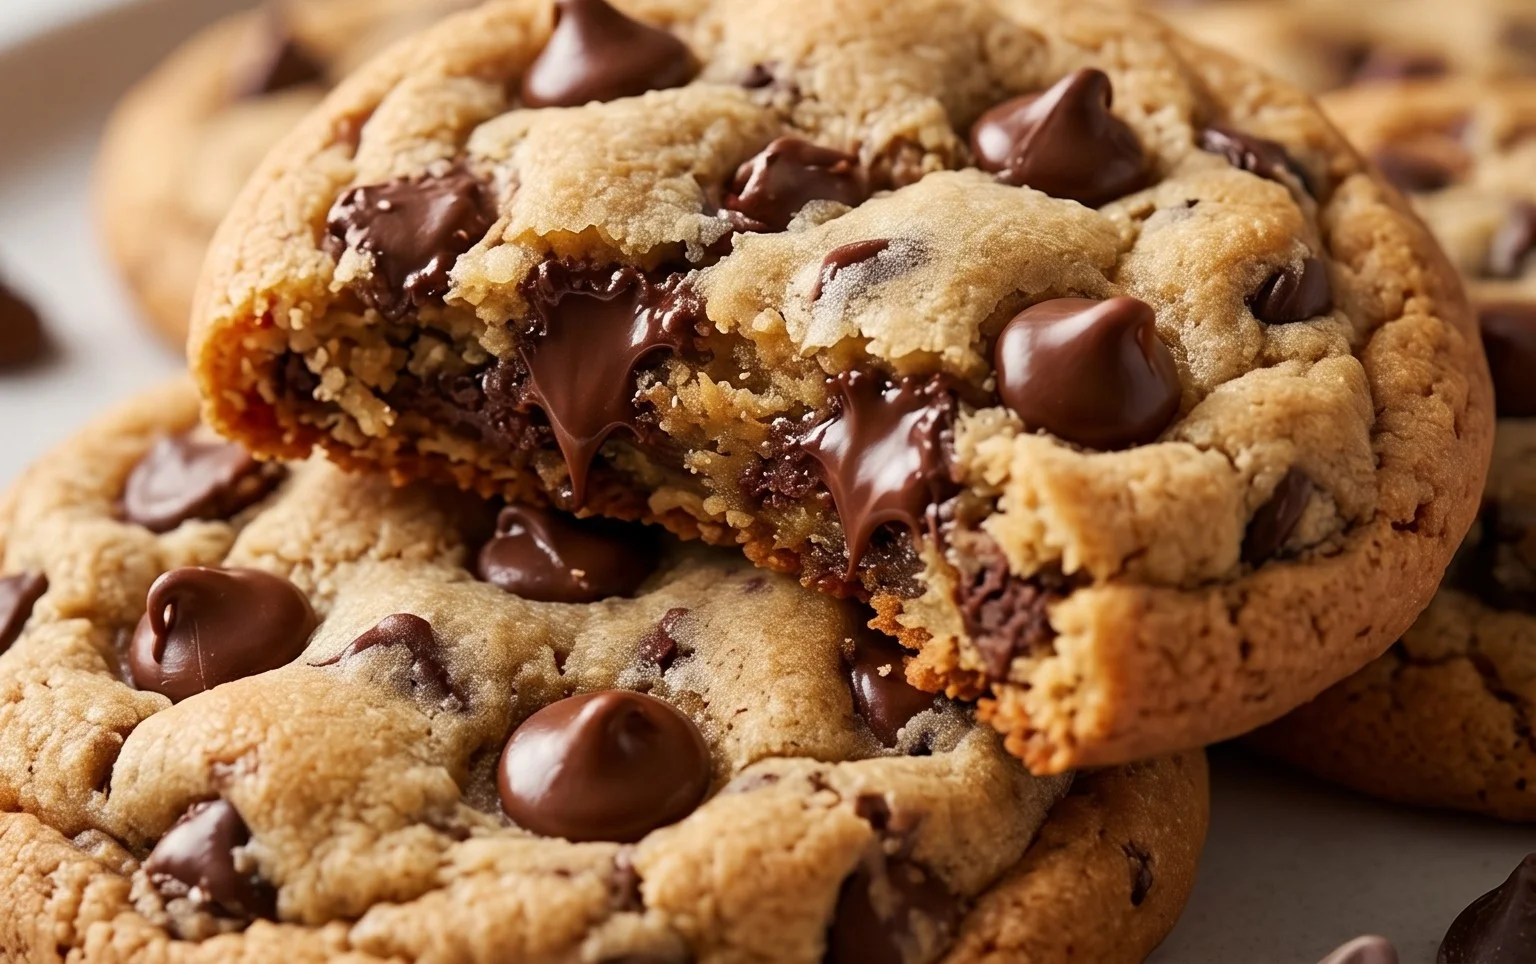
There you have it – the ultimate guide to achieving the best soft chocolate chip cookies you’ve ever tasted! What makes this recipe so special? It’s the perfect balance of chewy edges and a wonderfully soft, almost gooey center, achieved through simple yet crucial techniques like using melted butter and not over-baking. These cookies are a true testament to how a few thoughtful steps can elevate a classic into something extraordinary.
Enjoy these delightful cookies warm from the oven with a tall glass of cold milk, or let them cool completely for a chewier texture. They also make for fantastic ice cream sandwiches, a decadent dessert base, or simply a comforting treat any time of day. Don’t be afraid to experiment! Try adding a sprinkle of sea salt on top before baking for a sweet and salty contrast, or incorporate chopped nuts like walnuts or pecans for added crunch and flavor. You could even mix in different types of chocolate chips – white chocolate, dark chocolate chunks, or even butterscotch chips!
I truly encourage you to give this recipe a try. Baking these cookies is a joy, and the reward of sharing (or indulgin extractg in!) these perfect, soft chocolate chip cookies is absolutely worth it. Let me know how yours turn out!
Frequently Asked Questions:
Why are my cookies flat instead of soft and chewy?
This often happens if your butter is too melted or your oven temperature is too low. Ensure your butter is softened but not completely melted, and that your oven is accurately preheated. Also, chilling the dough for at least 30 minutes before baking can significantly help prevent spreading.
Can I make these cookies ahead of time?
Absolutely! You can bake the cookies and store them in an airtight container at room temperature for up to 3-4 days. For even better results, you can prepare the dough, roll it into balls, and freeze them on a baking sheet before transferring them to a freezer bag. You can then bake them directly from frozen, adding a minute or two to the baking time.
What’s the best way to get that perfectly soft center?
The key is to slightly underbake them! Remove the cookies from the oven when the edges are set and lightly golden brown, but the centers still look slightly underdone. They will continue to bake and firm up as they cool on the baking sheet.
The Best Soft Chocolate Chip Cookies
Indulge in the ultimate soft and chewy chocolate chip cookie experience with this classic recipe. Perfect for any occasion, these cookies are a guaranteed crowd-pleaser.
Ingredients
-
8 tablespoons of salted butter, softened
-
1/2 cup white sugar
-
1/4 cup packed light brown sugar
-
1 teaspoon vanilla extract
-
1 large egg
-
1 1/2 cups all purpose flour
-
1/2 teaspoon baking soda
-
1/4 teaspoon salt
-
3/4 cup chocolate chips
Instructions
-
Step 1
Preheat oven to 375°F (190°C). Line baking sheets with parchment paper. -
Step 2
In a large bowl, cream together the softened butter, white sugar, and light brown sugar until light and fluffy. -
Step 3
Beat in the vanilla extract and the egg until well combined. -
Step 4
In a separate medium bowl, whisk together the all-purpose flour, baking soda, and salt. -
Step 5
Gradually add the dry ingredients to the wet ingredients, mixing until just combined. Do not overmix. -
Step 6
Stir in the chocolate chips until evenly distributed throughout the dough. -
Step 7
Drop rounded tablespoons of dough onto the prepared baking sheets, spacing them about 2 inches apart. -
Step 8
Bake for 9-11 minutes, or until the edges are lightly golden brown and the centers are still soft. -
Step 9
Let the cookies cool on the baking sheets for a few minutes before transferring them to a wire rack to cool completely.
Important Information
Nutrition Facts (Per Serving)
It is important to consider this information as approximate and not to use it as definitive health advice.
Allergy Information
Please check ingredients for potential allergens and consult a health professional if in doubt.