Easy Restaurant-Style Blender Salsa Recipe
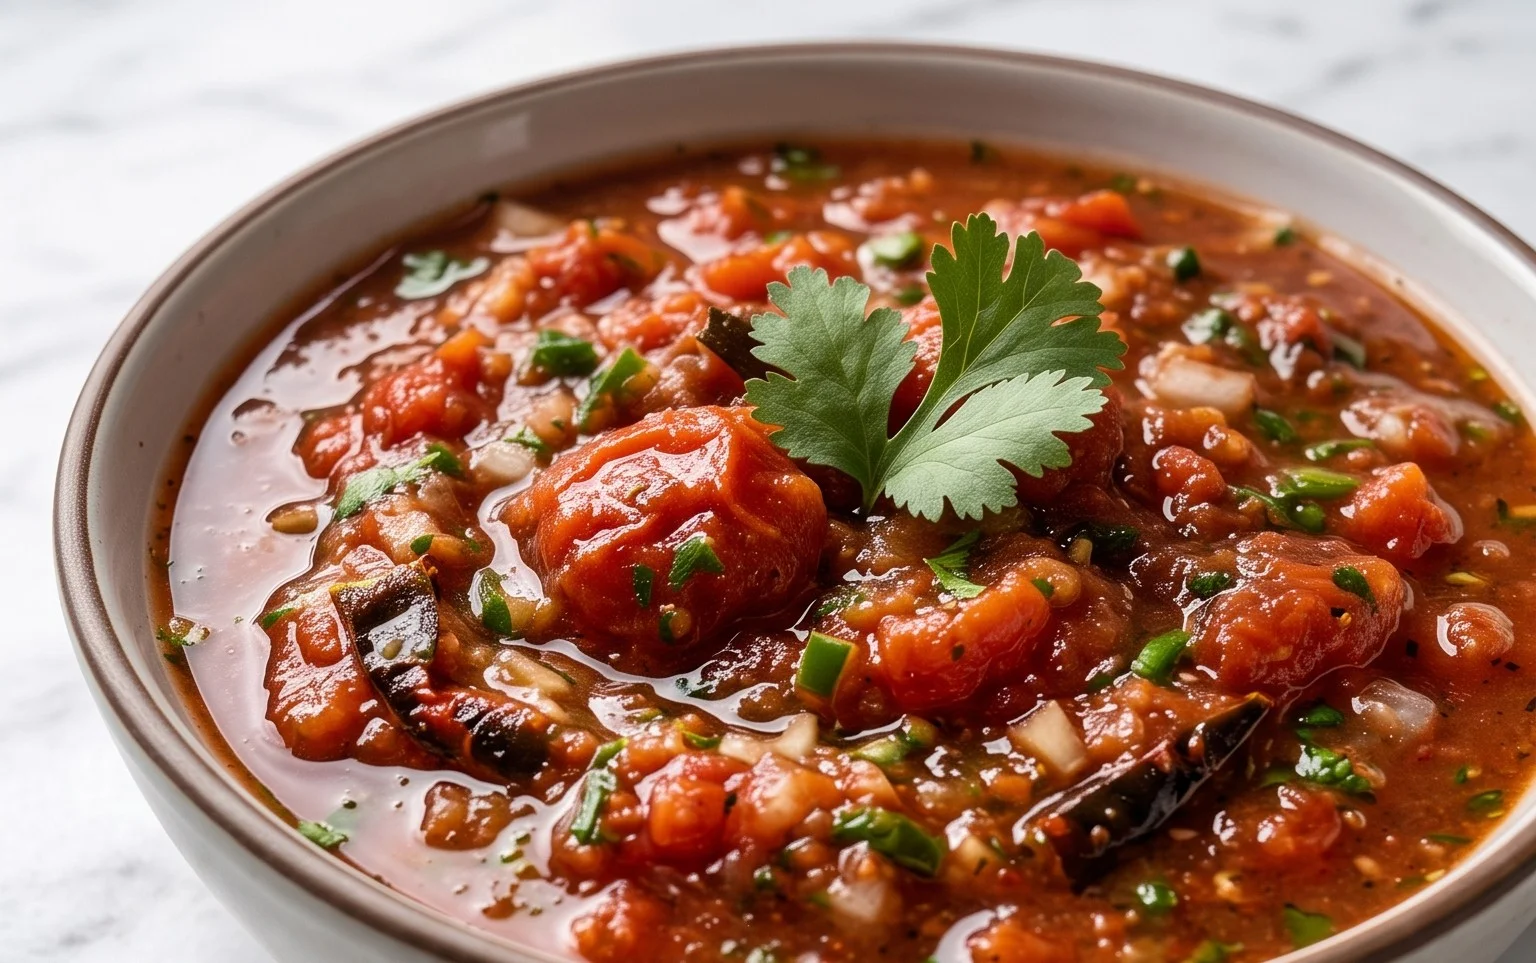
Blender Salsa, the kind that tastes remarkably like your favorite restaurant’s signature offering, is surprisingly achievable right in your own kitchen. We’ve all been there, reaching for that bowl of vibrant, chunky salsa at a Mexican restaurant and wondering, “How do they do it?” It’s that perfect balance of tangy tomatoes, zesty lime, and just the right amount of heat that makes it so addictive. This isn’t your average jarred salsa; this is the real deal, a fresh and flavorful creation that will elevate your taco nights, chip dips, and even your grilled chicken. What makes this Blender Salsa so special is its simplicity and the speed at which you can transform everyday ingredients into something truly spectacular. Get ready to impress yourself and anyone lucky enough to share it with you.
Blender Salsa (Restaurant Style Salsa)
There are few things better than a bowl of fresh, vibrant salsa served with a basket of warm tortilla chips. While store-bought options are convenient, nothing truly compares to the flavor and texture of homemade salsa. And the best part? You don’t need to be a culinary expert to whip up a restaurant-quality salsa in your own kitchen. My go-to method involves my trusty blender, which does all the heavy lifting, transforming simple ingredients into a zesty, flavorful salsa that will disappear in minutes. This recipe is my secret weapon for parties, taco nights, or just a casual afternoon snack. It’s quick, easy, and the results are consistently spectacular.
Ingredients:
Getting Started: Assembling Your Flavor Base
The beauty of this blender salsa is its simplicity. We’re not doing any cooking here, just blending. Before we even think about turning on the blender, it’s important to prep our ingredients correctly. This ensures a balanced flavor and the perfect texture.
Preparing the Fresh Produce
First, let’s talk about the tomatoes. Using a whole can of diced tomatoes, including the juice, is crucial. The liquid helps the blender process everything smoothly and adds essential moisture to the salsa. Don’t drain them!
Next, the aromatics. Red onion provides a wonderful sweetness and a bit of a bite that is characteristic of good salsa. Coarsely chopping it before it goes into the blender is key. If you chop it too finely, it can sometimes overpower the other flavors. For the cilantro, we want fresh leaves and tender stems – they both have great flavor. Give it a good rinse and rough chop.
Now for the heat. I’ve listed both jalapeno and serrano peppers as options. Jalapenos offer a more moderate heat, while serranos pack a punch. The choice is yours depending on your spice preference! For both, it’s essential to remove the seeds and membranes if you want to control the heat level. The seeds and white pith hold most of the capsaicin, the compound responsible for spiciness. Coarsely chop these as well. Finally, the garlic. Raw garlic can be quite strong, so give those cloves a rough chop before they hit the blender.
Zesting and Juicing the Lime
The lime is our acidity powerhouse. It brightens up all the other flavors and balances the richness of the tomatoes and the spice of the peppers. Before you juice your lime, make sure to zest it. The zest contains essential oils that provide a concentrated burst of lime flavor without adding extra liquid. A microplane is perfect for this. Once zested, cut the lime in half and juice it. We’ll be using both the zest and the juice.
The Blending Process: Creating Salsa Perfection
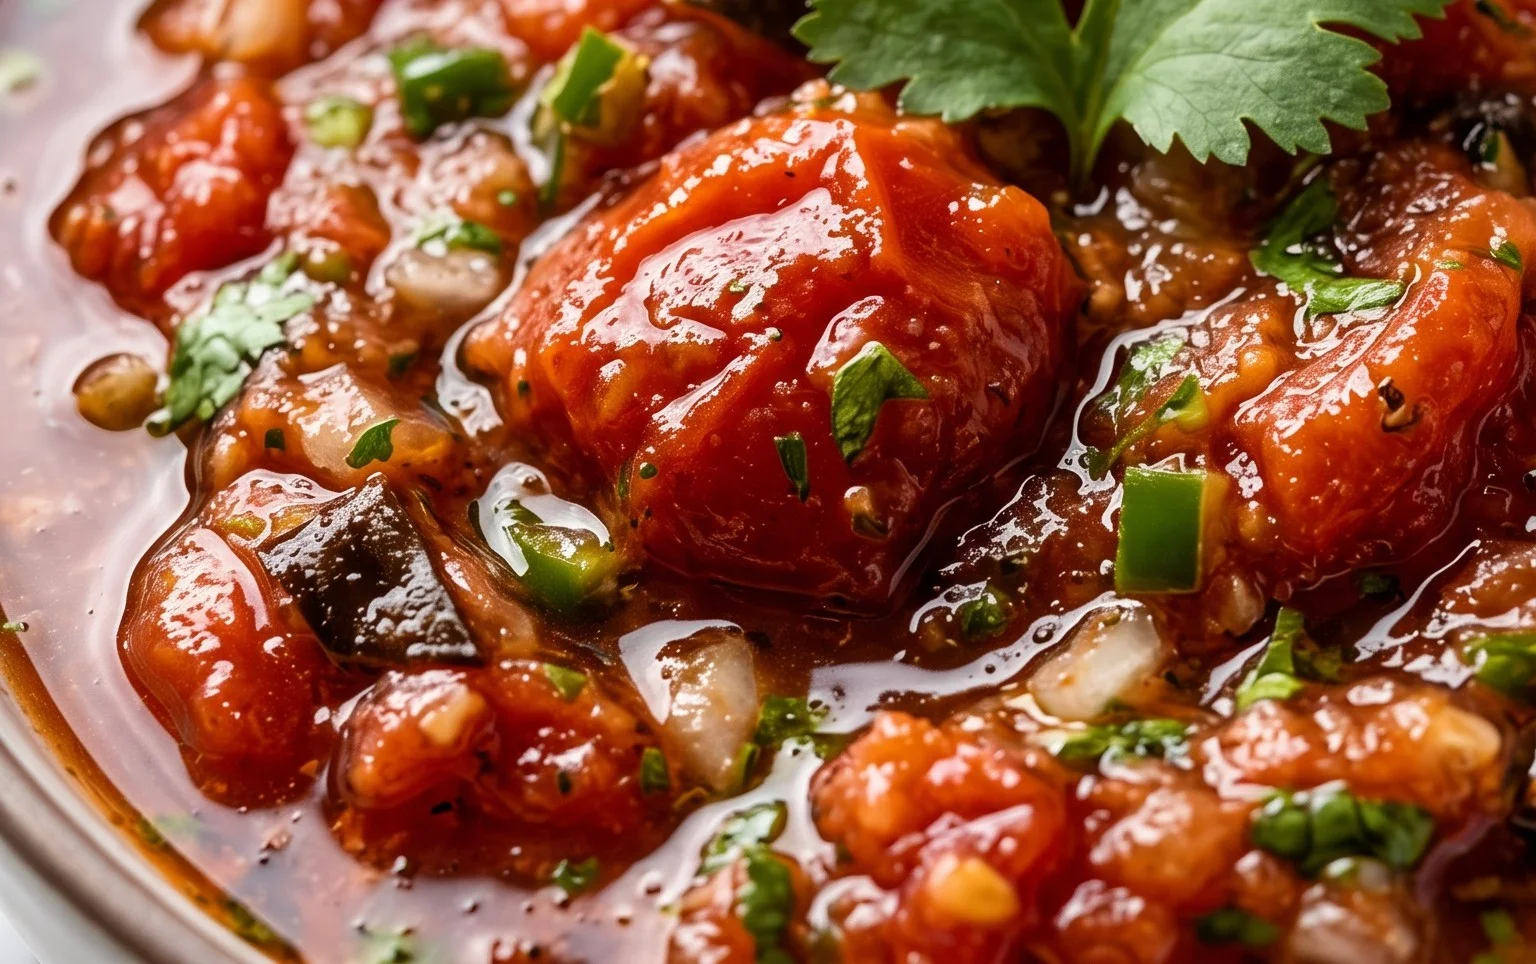
This is where the magic happens. With all our ingredients prepped, it’s time to let the blender do its work. The goal here is not to create a completely smooth purée, but rather a salsa with a pleasant, slightly chunky texture that you’d expect from a restaurant.
1. Combine the Base Ingredients: Start by adding the undrained diced tomatoes to your blender pitcher. Then, add the coarsely chopped red onion, cilantro, seeded and coarsely chopped jalapeno (or serrano) pepper, and the coarsely chopped garlic cloves.
2. Add the Flavor Enhancers: Now, it’s time to introduce the lime and the spices. Add the lime zest and the freshly squeezed lime juice to the blender. Sprinkle in the ground cumin. The cumin adds a warm, earthy note that is a hallmark of many great salsas.
3. Pulse for Texture: Secure the lid on your blender. Begin extract to pulse the mixture. This is the most important step for achieving the right texture. Instead of blending continuously, which will create a watery consistency, pulse in short bursts. Start with about 5-10 short pulses. Open the lid and scrape down the sides of the blender with a spatula if needed to ensure all ingredients are incorporated.
4. Assess and Adjust Consistency: After the initial pulsing, check the consistency of your salsa. You should see some larger pieces of tomato and onion still intact, with the other ingredients finely chopped and incorporated. If you prefer a smoother salsa, pulse a few more times, being careful not to over-blend. If it seems too thick, you can add a tablespoon or two of water or more lime juice.
5. Season to Perfection: This is where you’ll truly make it your own. Add salt and black pepper to taste. Start with about 1/4 teaspoon of salt and a pinch of black pepper. Pulse a couple more times to incorporate the seasonings. Taste the salsa again. Does it need more salt? More lime juice for brightness? A touch more heat from a tiny sliver of fresh jalapeno if you’re feeling brave? Adjust as needed, pulsing briefly after each addition until the flavor is exactly to your liking. Remember, the flavors will also meld and deepen as the salsa sits.
Serving and Storing Your Delicious Creation
Once you’ve achieved your perfect salsa, pour it into a serving bowl. For the best flavor, I like to let my salsa sit for at least 15-30 minutes at room temperature, or even in the refrigerator, before serving. This allows all the flavors to meld together beautifully. Serve with your favorite tortilla chips, or use it as a topping for tacos, burritos, enchiladas, grilled chicken, or fish.
If you have any leftover salsa (which is rare in my house!), store it in an airtight container in the refrigerator. It will typically keep well for 3-5 days, though the fresh flavors are always best enjoyed within the first couple of days. You might notice a little liquid separation; just give it a quick stir before serving again. Enjoy this incredibly easy and delicious blender salsa!
Conclusion:
And there you have it – your very own homemade Blender Salsa, the kind that tastes just like your favorite restaurant’s! This recipe is a game-changer because it’s incredibly quick, remarkably easy, and delivers a vibrant, fresh flavor that store-bought versions simply can’t match. The magic happens in the blender, transforming simple ingredients into a perfectly smooth, zesty salsa in mere minutes. I truly encourage you to give this blender salsa a try; you’ll be amazed at how simple it is to achieve that authentic, restaurant-style taste right in your own kitchen. It’s perfect for taco nights, game days, or just as a delicious dip any time of day. Don’t be afraid to experiment with the spice level or add your own personal touches!
Beyond its stellar taste, this blender salsa recipe is fantastic for its versatility. Serve it with tortilla chips, of course, but also consider spooning it over grilled chicken or fish, adding a dollop to scrambled eggs, or even using it as a base for a zesty salad dressing. For a little twist, try adding a small piece of avocado for creaminess or a pinch of smoked paprika for a deeper flavor profile. The possibilities are endless, and the reward is a consistently delicious salsa that will impress everyone.
Frequently Asked Questions:
Can I make this blender salsa spicier?
Absolutely! To make your salsa spicier, you can increase the number of jalapeños you add. Remember to remove the seeds and membranes for less heat, or leave them in if you like it fiery. You could also add a pinch of cayenne pepper or a dash of your favorite hot sauce.
How long does this salsa last in the refrigerator?
This blender salsa will stay fresh in an airtight container in the refrigerator for about 3 to 5 days. The flavors actually tend to meld and deepen a bit after a day, making it even more delicious!
Can I make this salsa chunkier?
Yes, you can definitely achieve a chunkier texture. Instead of blending until completely smooth, pulse the ingredients in the blender a few times, just until they are roughly chopped. This will give you more of a pico de gallo style salsa.
Blender Salsa (Restaurant Style Salsa)
Quick and easy restaurant-style salsa made in a blender with fresh ingredients.
Ingredients
-
1 (14.5-ounce can) Diced Tomatoes (don’t drain)
-
1/4 small Red Onion (about 1/3 cup coarsely chopped)
-
1/4 cup Cilantro
-
1 Lime (zested and juiced)
-
1 Jalapeno Pepper (or Serrano Pepper) (seeded and coarsely chopped)
-
2 cloves Garlic (coarsely chopped)
-
1/4 teaspoon Ground Cumin
-
Salt (to taste)
-
Black Pepper (to taste)
Instructions
-
Step 1
Add diced tomatoes (undrained), red onion, cilantro, lime zest, lime juice, jalapeno pepper, and garlic to a blender. -
Step 2
Pulse until the ingredients are finely chopped and well combined, but not completely puréed. You want a slightly chunky texture. -
Step 3
Add ground cumin, salt, and black pepper to the blender. -
Step 4
Pulse a few more times to incorporate the seasonings. Taste and adjust salt and pepper as needed. -
Step 5
For best flavor, transfer the salsa to a bowl and refrigerate for at least 30 minutes to allow the flavors to meld before serving.
Important Information
Nutrition Facts (Per Serving)
It is important to consider this information as approximate and not to use it as definitive health advice.
Allergy Information
Please check ingredients for potential allergens and consult a health professional if in doubt.